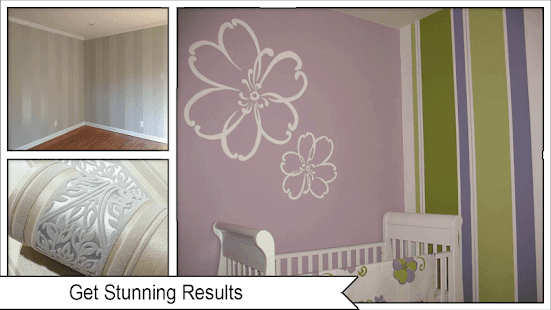
 Best DIY 3D Wall Molding Stripes
7.1
Best DIY 3D Wall Molding Stripes
7.1
Adding molding stripes to a wall is a cost-effective way to revamp a room. This project took less than a half a day. this application will share you step by step to make Best DIY 3D Wall Molding Stripes. make your room more colorful and always comfort and elegant. You must try and you can do it at home.
Tools and Materials:
nail gun and nails
wood glue
skinny molding
hand saw
miter box
laser level
painting equipment
Steps:
Step 1. Use a laser level and a pencil to draw the lines for the molding on the wall. We placed our molding stripes 10 inches apart. Continue drawing lines from floor to ceiling.
WkndProj_06_Nailing-Molding_s4x3
Step 2. Paint the molding and let it dry completely.
Step 3. Cut the molding to the necessary length using a hand saw and miter box or an electric chop saw. Cut each end at 45 degrees then cut small return pieces to go on the exposed ends of the molding.
Step 4. Use glue and a nail gun to attach the molding to the wall.
Step 5. Fill the nail holes with putty and then go over those spots with the same color paint as your molding.
So simple right ? we share this tutorials to make your room, unique,cheerful, elegant and make your room more happy .
Want to know more ? want to try make it ?
Download this application now and get what you want here. worth to try and you will like it.
simply share through any social media platforms. thank you for downloading. please enjoy and give us any feedback.
Fotogalerie


-
Verze programu
7.1
-
Poslední aktualizace od vývojáře
21. 11. 2017
-
Počet stažení za měsíc
0 ×
-
Potřeba instalace:
Ano
-
Web autora
-
Podporované jazyky
- Angličtina
Zdarma
Sdílet
Podobné programy


TIP: Stahují se vám programy pomalu? Změřte si rychlost svého internetového připojení.